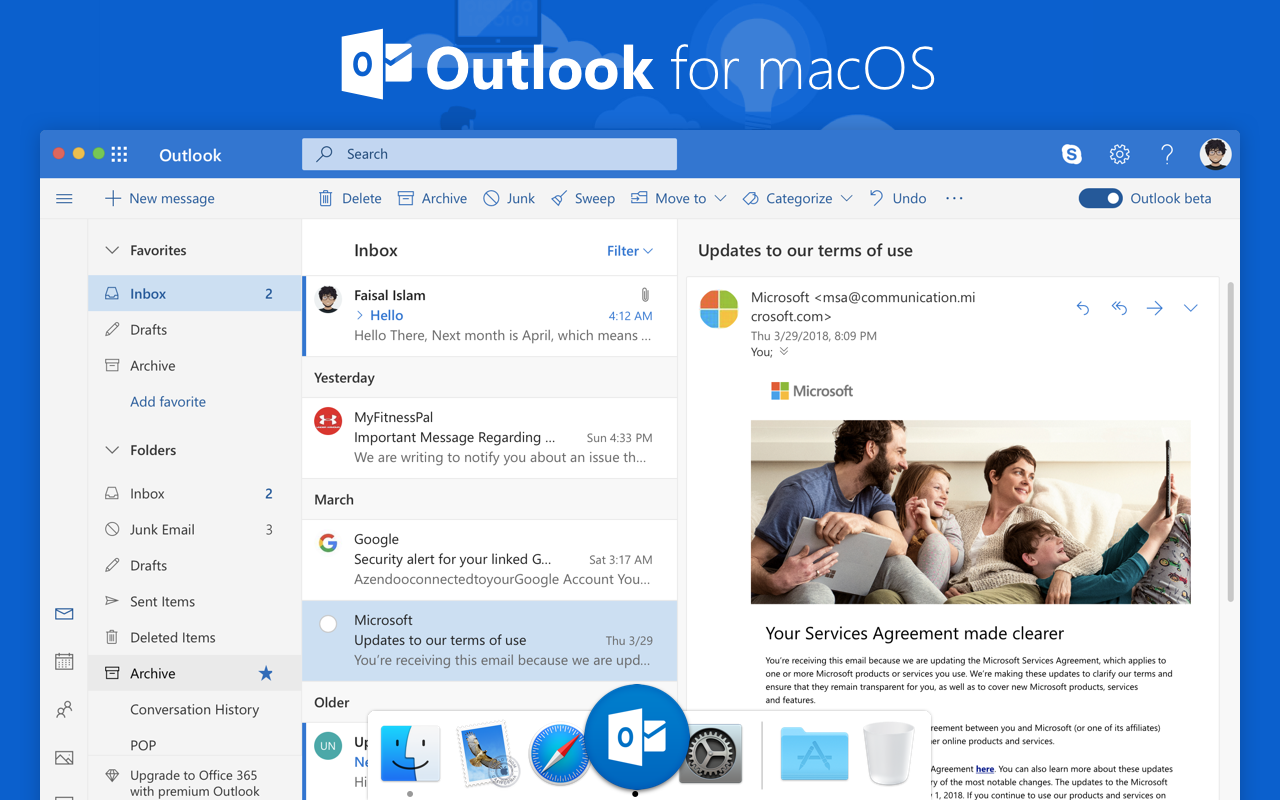
How To Configure Outlook For Mac
Let me refer to A as accessing my outlook.com email from within Mac Mail, and B as accessing my outlook.com email from the Outlook.com website from Safari. When I send an email to my outlook.com eamil address, I can see the email in both A and B (i.e., I see that A and B stay in sync).
This document explains how to connect to the Office 365 service. • • • • Note: If you already have Outlook 2016 for Mac installed on your computer, skip this section follow the steps below to configure the client. Microsoft office for mac free download. • Click on settings gear icon,. • Click Office 365 Settings. • Within 'Settings' section, click Software. • Click Install. • When prompted, run the installer and continue with the installation/configuration process.
Warning: Before proceeding, make sure you have to the latest version (patch) currently available. If you do not update Outlook before proceeding, the potential exists that you will be unable to configure your account to Office 365 (you will receive an error during the configuration process).

Important: In addition to configuring your NetID account, this document also contains instructions on how to configure a Service Account. The recommended configuration for Service Accounts within Outlook is to have the Service Account linked to your NetID account and then to use the feature to interact with the Service Account. Microsoft Outlook 2016 for Mac uses to manage your accounts within Outlook.
• You have three options on configuring your Outlook profile: Option 1: First time user of Outlook (no existing profile). Launch Outlook to start the account creation wizard. Click the Exchange or Office 365 account option. Proceed to step 2. Option 2: Create a new profile. Make sure Outlook is not running.
• Follow these steps to. • Proceed to step 2. Option 3: Add your account to an existing profile. Launch Outlook 2016 for Mac. • Go to 'Tools' menu and click the Accounts selection.
F secure freedome vpn. Enjoy F-Secure FREEDOME VPN 2.16.5289 Lifetime License.
• Select Exchange. From the + menu selection located at the bottom left corner of the 'Accounts' screen. • Proceed to step 2. • On the Auto Account Setup window, enter the following for each field: • Email Address: - • Enter the of your NetID account which will take one of the following forms: netid@wisc.edu or first.lastname@wisc.edu or name@ domain.wisc.edu • Enter the of your Service account which will take one of the following forms: name@ domain.wisc.edu Note: if you don't know whether you are attempting to configuring a NetID account or a Service account, please contact your domain administrator or the. • Method: User Name and Password • Username • For, enter: • netid@wisc.edu • For enter: • name_domain@wisc.edu • Password: Enter the password of the account you are configuring. Note: If you are configuring a service account, a password is required.