Creating Apa Cover Page On Pages For Mac
Excel free download for mac. IDG • A window may appear, explaining any changes that were made during the import process. The more complicate your Excel spreadsheet (lots of formulas, charts, etc.), the higher the possibility that a change had to be made. A progress window will appear.
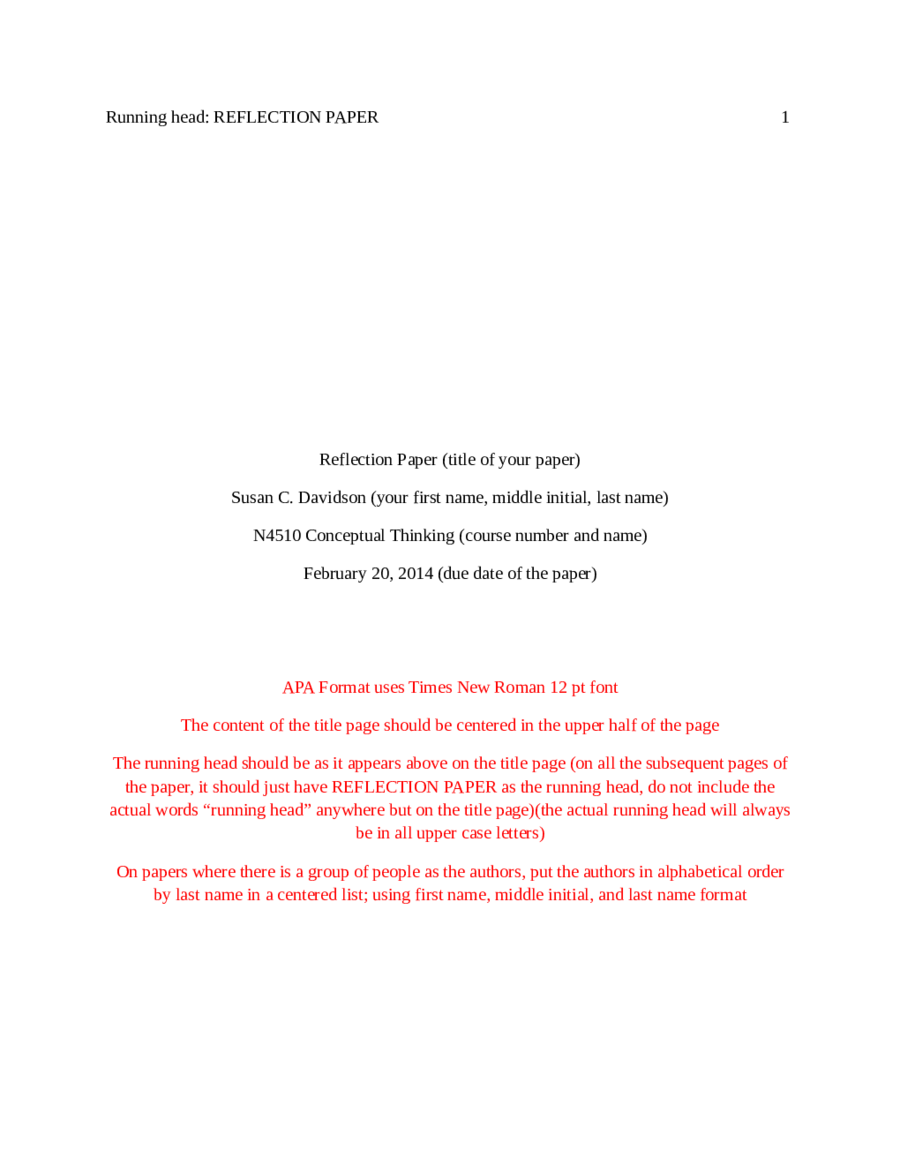
This works if you want your page numbers to start anywhere after page 1. In my example I want to start numbering on page 3, but this would work even if you wanted page numbering to start on page 57 (for example). To make a title page with APA, space your title down the page about ⅓ of the way. Set your computer to double space the title page, and center all of your information horizontally. If your title is especially long, you can use 2 lines for it, but remember to cut out any extra words and to be as precise as possible.
• Click in a page where you want to add headers and footers. If your document has multiple and you intend to use different headers or footers for some sections, select a page in the section you’re adding this header or footer to; otherwise, you can add the header or footer to any page. • Move the pointer over the top or bottom of the page until you see the three header or footer fields, then click one (you can use any combination of fields to complete your header or footer). If you don’t see the fields, turn on headers and footers for the document (click in the toolbar, click the Document tab at the top of the sidebar, then select the Header and Footer checkboxes). • Type your text, or click the Insert Page Number pop-up menu and choose a numbering style. If you already added page numbers in another section, you don’t see the Insert Page Number pop-up menu.
Instead, click in the toolbar and choose Page Number. • To set the distance from the top and bottom page margins, click the arrows or enter values in the fields next to Top and Bottom (below the Header and Footer checkboxes in the sidebar). • Click the Section tab at the top of the sidebar, then choose any of the following: • Hide on first page of section: Hide the header or footer on the first page.
If the document has more than one section, it applies only to the first page of this section. • Match previous section: Use the same headers and footers from one section to the next. Deselect this checkbox if you want to use different headers and footers for this section.
• Left and right pages are different: When this checkbox is selected in a document using, the headers and footers on left and right pages can be different. See for more information. • To change the font, font size, color, and alignment of header and footer text, select the text, then use the controls in the Format sidebar.
If a button is dimmed, that format can’t be applied to the selected text. • Move the pointer over the top or bottom of a page until you see the header or footer area, then click any of the three fields (you can use any combination of the fields). If you don’t see the fields, turn on headers and footers for the document (click in the toolbar, click the Document tab at the top of the sidebar, then select the Header and Footer checkboxes). • Type your text, or click the Insert Page Number pop-up menu and choose a numbering style. If you already added a page number on another page, you don’t see the Insert Page Number pop-up menu.
Instead, click in the toolbar and choose Page Number. • If your document uses and you want to enter different information on left and right pages, click and select the “Left and right pages are different” checkbox. See for more information. • To set the header and footer margins, in the Document sidebar, click the arrows or enter values in the Header & Footer Margins fields. • To adjust headers and footers for a page, click a blank spot on the page (so nothing is selected), click in the toolbar, then select any of the following: • Show header and footer: Select or deselect the checkbox to show or hide the header and footer on this page.
• Match previous page: Use the same headers and footers from one page to the next. Deselect this checkbox if you want to use different headers and footers for this page.

To begin with, the entire paper should be double-spaced and written in a highly readable 12-point font, preferably Times New Roman. There should also be 1-inch margins on all sides of the document. To create 1-inch margins, you will: • Click the Page Layout tab.• In the Page Setup section, click on 'Margins.' Choose the first option, which is to create 1-inch margins on all sides of the paper.
To double-space the paper, you will: • Highlight any text that you have typed thus far (skip this step if you have not begun yet). • Click the Home tab or the Page Layout tab. • In the Paragraph section of either of those tabs, click the tiny arrow in the bottom right corner.