Arduino Download For Mac
Mac This page will show you how to install and test the Arduino software on a Mac computer running OSX. • Go to the Arduino and download the latest version of the Arduino software for Mac. • When the download is finished, un-zip it and open up the Arduino folder to confirm that yes, there are indeed some files and sub-folders inside. The file structure is important so don’t be moving any files around unless you really know what you’re doing.
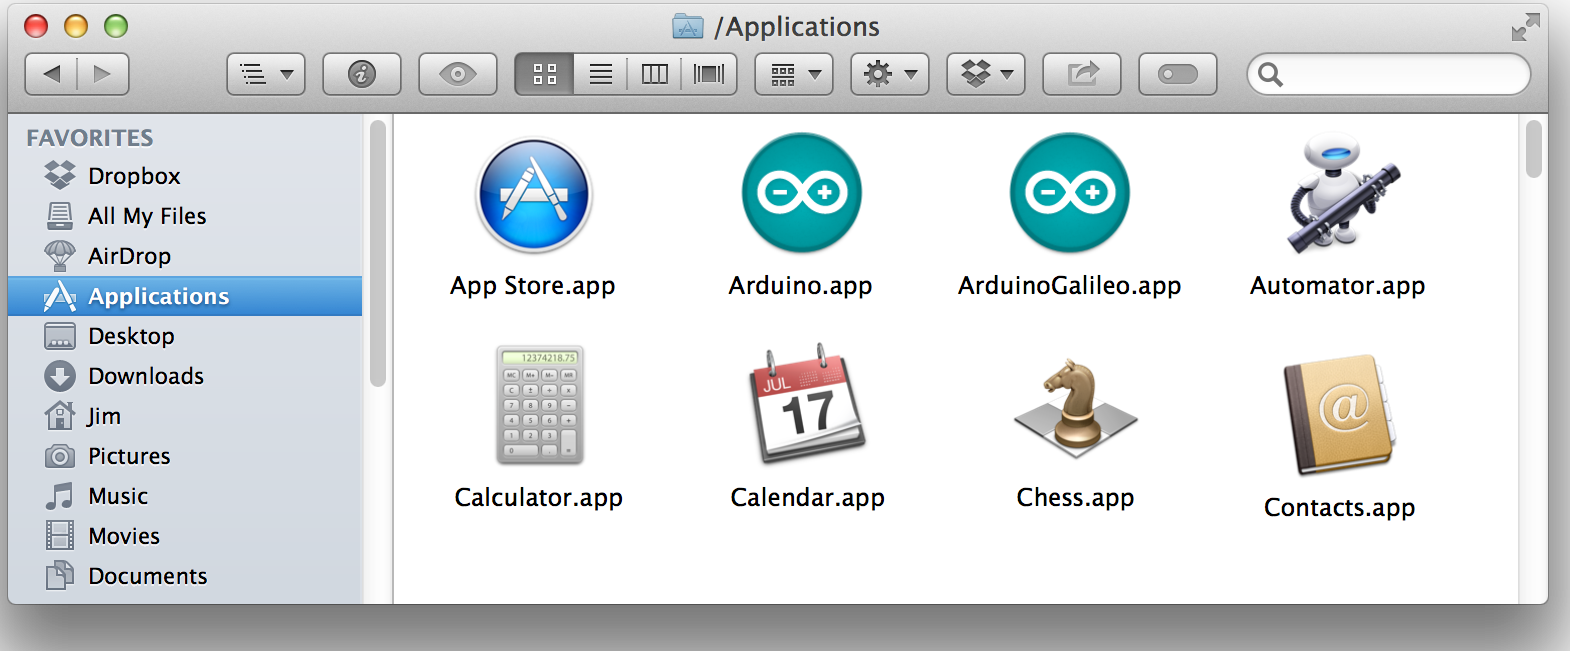
• Power up your Arduino by connecting your Arduino board to your computer with a USB cable (or FTDI connector if you’re using an Arduino pro). You should see the an LED labed ‘ON’ light up. ( shows the placement of the power LED on the UNO). • Move the Arduino application into your Applications folder. FTDI Drivers If you have an UNO, Mega2560, or Redboard, you shouldn’t need this step, so skip it! • For other boards, you will need to install drivers for the FTDI chip on your Arduino. • Go to the and download the latest version of the drivers.
The ESP32 is currently being integrated with the Arduino IDE just like it was done for the ESP8266, but not everything is working at the moment. Installing the ESP32 Board in Arduino IDE (Mac OS X and Linux instructions).
• Once you’re done downloading, double click the package and follow the instructions from the installer. Photo manager for mac other than iphoto. • Restart your computer after installing the drivers. Launch and Blink! After following the appropriate steps for your software install, we are now ready to test your first program with your Arduino board! • Launch the Arduino application • If you disconnected your board, plug it back in • Open the Blink example sketch by going to: File > Examples > 1.Basics > Blink • Select the type of Arduino board you’re using: Tools > Board > your board type • Select the serial port that your Arduino is attached to: Tools > Port > xxxxxx (it’ll probably look something like “/dev/tty.usbmodemfd131” or “/dev/tty.usbserial-131” but probably with a different number) • If you’re not sure which serial device is your Arduino, take a look at the available ports, then unplug your Arduino and look again.
The one that disappeared is your Arduino. • With your Arduino board connected and the Blink sketch open, press the ‘Upload’ button • After a second, you should see some LEDs flashing on your Arduino, followed by the message ‘Done Uploading’ in the status bar of the Blink sketch.
• If everything worked, the onboard LED on your Arduino should now be blinking! You just programmed your first Arduino! Troubleshooting If you’re having problems, check out from Arduino. In 2003, CU student Nate Seidle fried a power supply in his dorm room and, in lieu of a way to order easy replacements, decided to start his own company. Since then, SparkFun has been committed to sustainably helping our world achieve electronics literacy from our headquarters in Boulder, Colorado. No matter your vision, SparkFun's products and resources are designed to make the world of electronics more accessible. In addition to over 2,000 open source components and widgets, SparkFun offers curriculum, training and online tutorials designed to help demystify the wonderful world of embedded electronics.
We're here to help you start something. • SparkFun Electronics • • • • • •.
Introduction This tutorial will walk you through downloading, installing, and testing the (also known as the Arduino IDE - short for Integrated Development Environment). Before you jump to the page for your operating system, make sure you’ve got all the right equipment. What you will need: • A computer (Windows, Mac, or Linux) • An Arduino-compatible microcontroller (anything from should work) • A USB A-to-B cable, or another appropriate way to connect your Arduino-compatible microcontroller to your computer (check out this if you’re not sure which cable to get). An Arduino Uno An A-to-B USB Cable Suggested Reading If you’re new to Arduino in general, you want to check out this tutorial to familiarize yourself with everyone’s favorite microcontroller platform. • If you’re ready to get started, click on the link in the column on the left that matches up with your operating system, or you can jump to your operating system here.